Reverse Engineering the MUT-III SE: Part 1 - Decrypting EXDF Files
The MUT-III SE (Multi-Use Tester III Second Edition) is Mitsubishi’s official diagnostic tool used by dealerships worldwide to diagnose, configure, and reprogram Mitsubishi vehicles.
This is the first post in a multi-part series where we reverse engineer the MUT-III SE to understand its inner workings. In this installment, we focus on decrypting the tool’s data files, which contain vehicle specifications, diagnostic trouble codes, localization data, and VIN lookup tables.
Setting Up the Environment
Downloading MUT-III SE
The MUT-III SE software can be obtained from the Internet Archive
Locating the Relevant Files
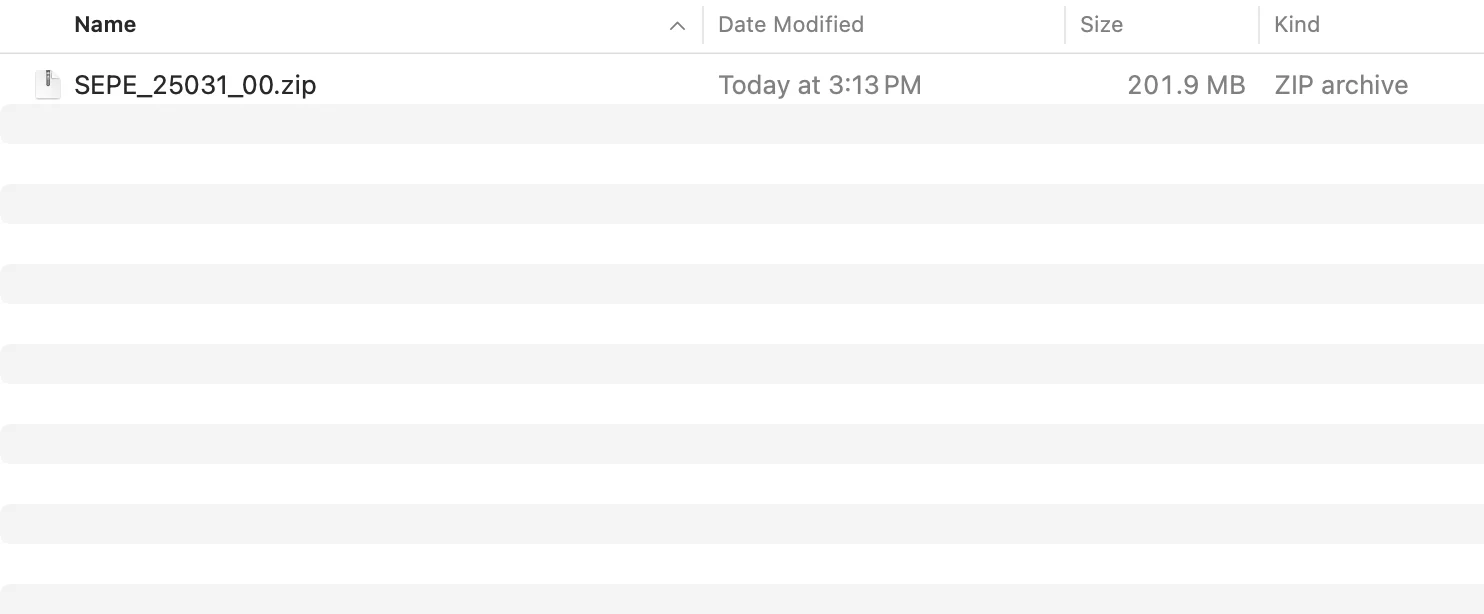
Extracting the zip file

The Internet Archive download includes supporting guides and installation, update, and uninstallation tools for the software. The MUT-III SE itself is located in
SEPE_25031_00 -> INSTALL -> SE -> MUT3_SE.zip
All subsequent steps in this guide will focus on the contents of this zip file.
Understanding EXDF Files
Unlike prior editions of the MUT software which used a local SQL database, this version stores its data in proprietary encrypted files (.exdf).
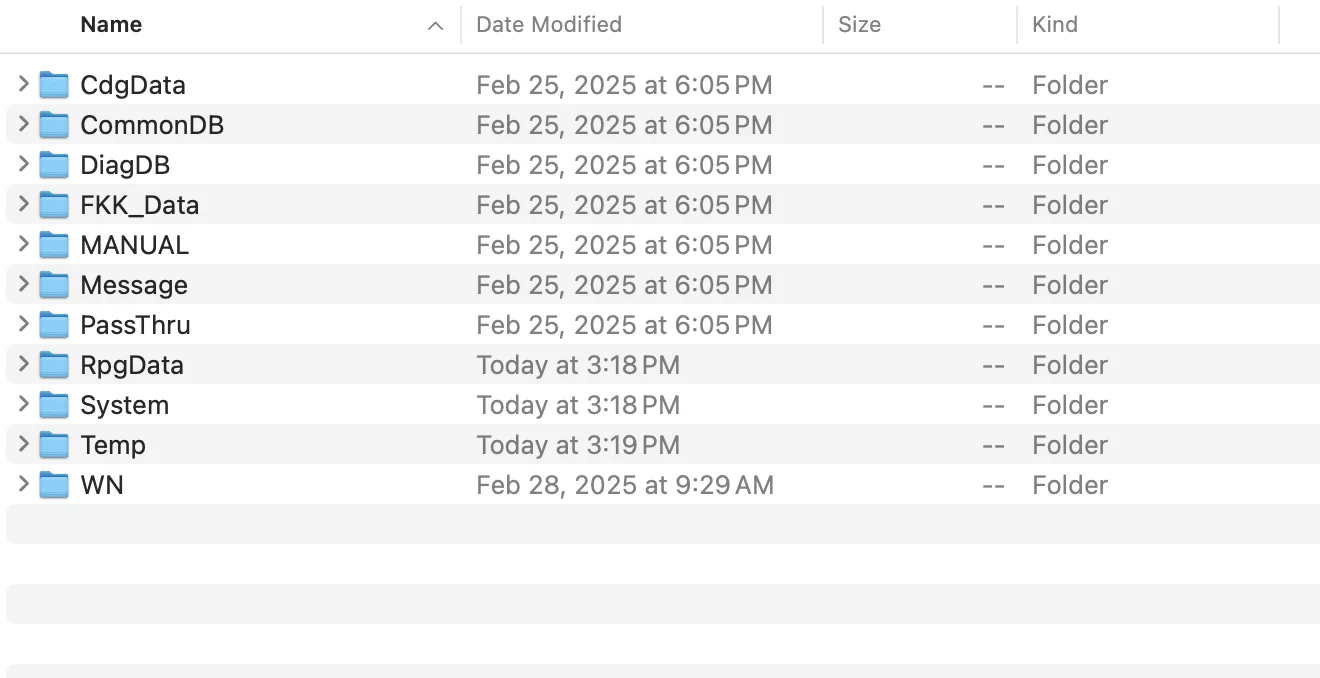
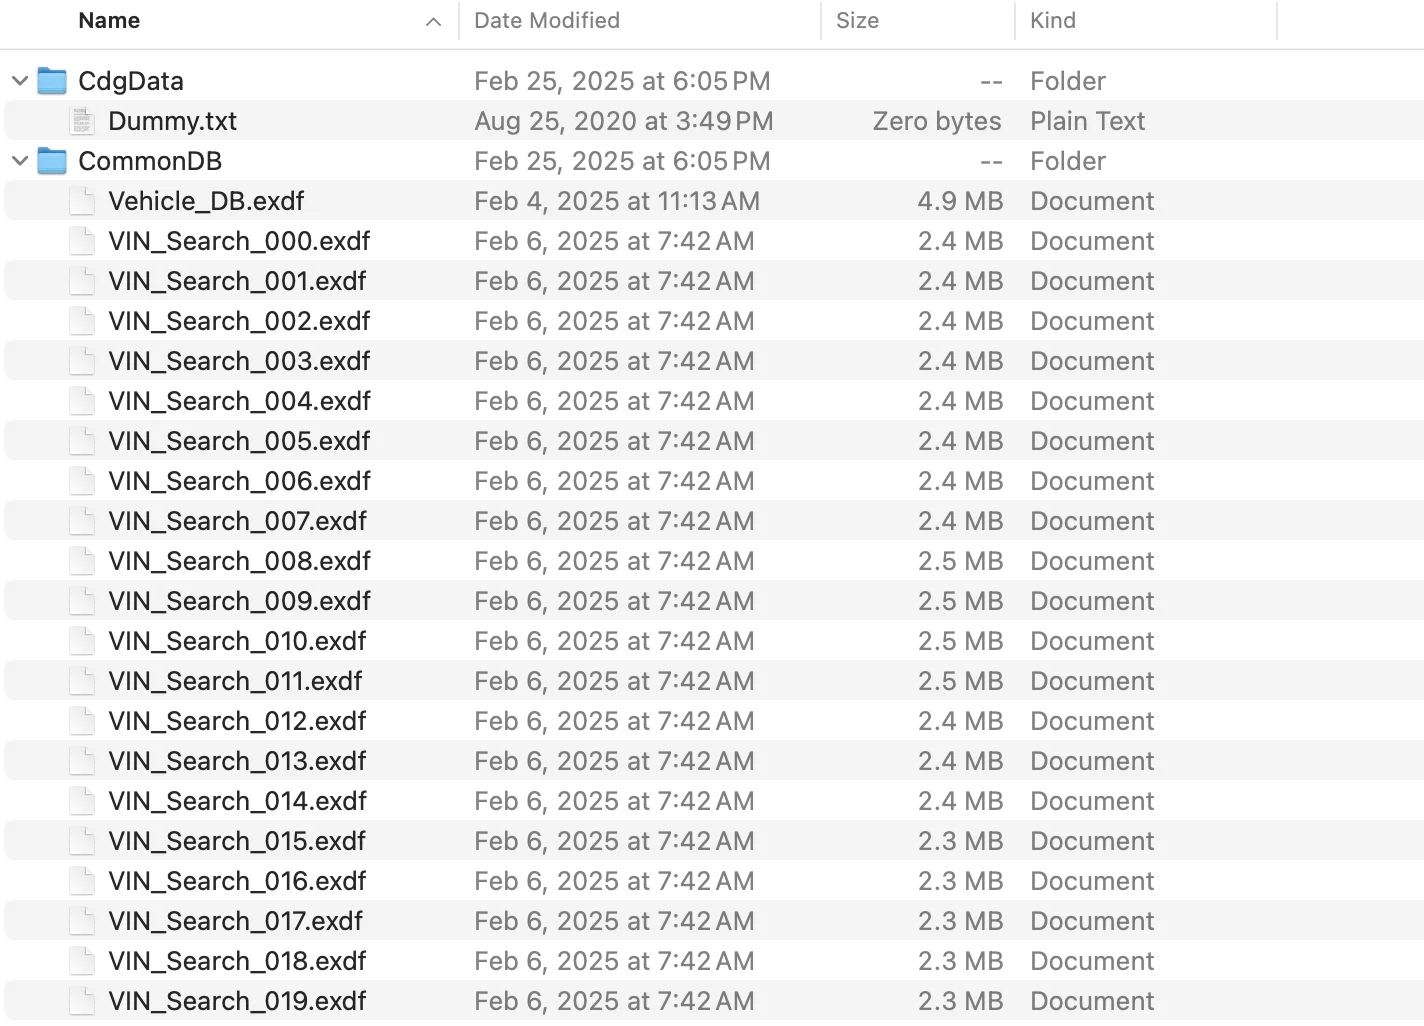
Expanding the first couple of folders in the MUT3_SE zip reveals numerous .exdf files. These are the encrypted data files that contain vehicle specifications, diagnostic codes, and configuration data.
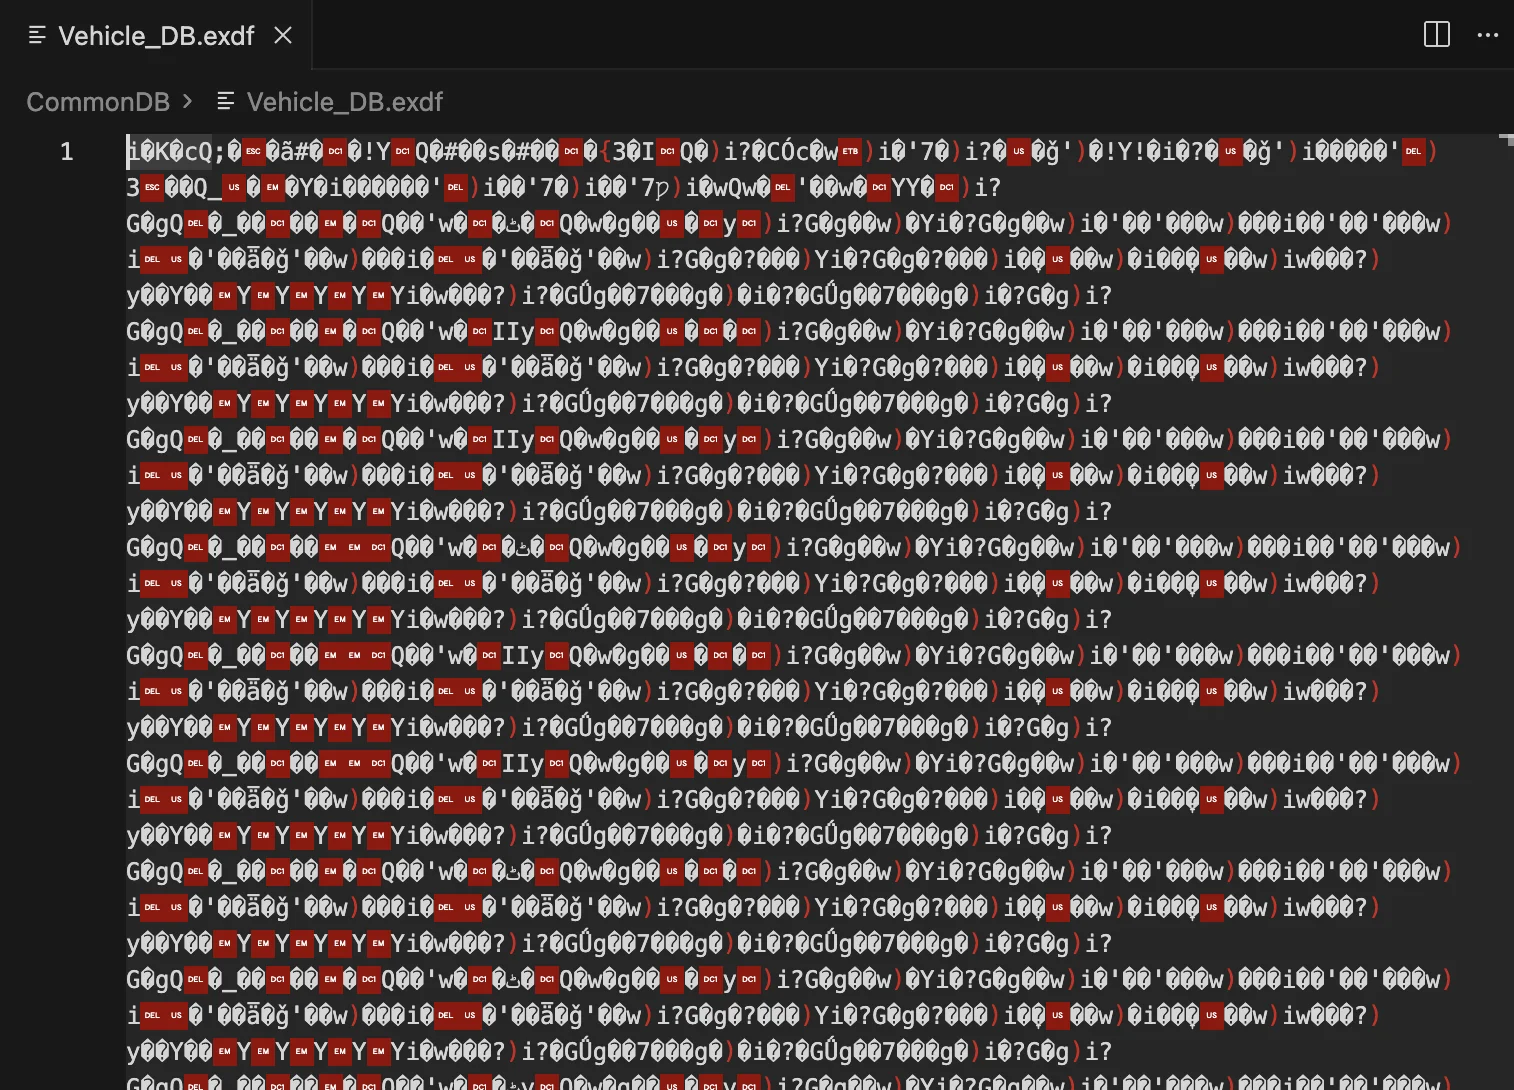
Opening these files in a text editor or IDE shows what appears to be garbled binary data—this is the encrypted content that we intend to decrypt.
Installing de4dot
The MUT-III SE executables are obfuscated .NET assemblies. To make the code easier to read, it helps to first deobfuscate embedded strings using de4dot , a .NET deobfuscator and unpacker.
Installing ILSpy Command Line Tool
After deobfuscation, the next step is to decompile the .NET assemblies to readable C# source code. We use ILSpy , specifically the command-line version.
Install the latest version of ilspycmd via .NET tools:
dotnet tool install --global ilspycmd --version=10.0.0.8282-preview2
The version used here is the latest as of the time of writing. A list of all available versions is available at NuGet .
Deobfuscation with de4dot
Run de4dot recursively on the MUT-III SE directory to deobfuscate all .NET assemblies:
de4dot.exe -r C:\Users\JohnDoe\Desktop\mut-3 -ru -ro C:\Users\JohnDoe\mut-3-deobfuscated --default-strtyp delegate
The --default-strtyp delegate flag ensures that delegate-based string obfuscation is also handled, without it, many of the strings in the de-obfuscated output remain encrypted.
This process produces a new folder containing the deobfuscated assemblies.
Decompilation with ILSpy
With the files deobfuscated, they can now be decompiled to C# source code.
A Python script was written that recursively finds all .dll and .exe files and runs them through ILSpy. This script also copies over all other files, retaining the same file structure for easier analysis.
The complete script is available on GitHub: decompile_assemblies.py
Running the decompilation script:
python3 decompile_assemblies.py /Users/JohnDoe/Desktop/mut-3-deobfuscated /Users/JohnDoe/Desktop/decompiled
Decompilation Errors
The decompilation process will produce errors like this for some files:
✗ MUT3_Launcher.exe: ICSharpCode.Decompiler.Metadata.MetadataFileNotSupportedException:
   PE file does not contain any managed metadata.
These errors occur because not all .exe and .dll files are .NET assemblies. Some are native compiled executables. On macOS, the file command can distinguish between them:
file /Users/JohnDoe/Desktop/MUT3_Launcher.exe
# Output: PE32 executable (GUI) Intel 80386, for MS Windows
This is a native Windows executable. Compared to a .NET assembly:
file /Users/JohnDoe/Desktop/MutVciControl.dll
# Output: PE32 executable (DLL) (console) Intel 80386 Mono/.Net assembly, for MS Windows
The decompilation script handles these errors gracefully, copying the original file to the destination folder and continuing to process other files. There are many commercial tools that can be used to decompile these files; one of the popular free ones is Ghidra by the National Security Agency . We refrain from decompiling these for now as decompiled machine code is hard to read—function and variable names are removed as part of the compilation process.
Identifying the Encryption Logic
With the source code decompiled, searching for functions related to file encryption or decryption becomes possible. Searching for method names containing “Encrypt” or “Xml” reveals an interesting method in System/common/MutRpg2/MutRpg2.decompiled.cs:
public long GetEncryptionFileToXml()
{
    long num = 0L;
    this.m_0 = null;
    if (File.Exists(this.m_0)) {
        try {
            this.m_0 = File.ReadAllBytes(this.m_0);
            if (this.m_0 == null || this.m_0.Length < 1) {
                num = 2147483651L;
            }
        }
        catch (ArgumentException) {
            num = 2147483651L;
        }
        // ... more exception handlers ...
        if (num == 0L) {
            num = 0(true);  // Calls method named "0" (obfuscated name)
        }
    } else {
        num = 2147483648L;
    }
    return num;
}
This method reads a file into a byte array and then calls another method 0(true). The true parameter indicates that UTF-8 decoding should be used.
Analyzing the Decryption Algorithm
The method 0(bool P_0) coordinates the decryption
private long 0(bool P_0) {
    long num = 0L;
    long num2 = 0L;
    byte[] array = null;
    byte[] array2 = null;
    num2 = this.m_0.Length;
    array2 = 1(this.m_0, num2);  // First transformation
    if (this.m_0 != 0L || array2 == null) {
        num = 2147483649L;
    }
    array = 0(array2, num2);     // Second transformation
    if (this.m_0 != 0L || array2 == null) {
        num = 2147483649L;
    }
    this.m_0 = "";
    if (num == 0L) {
        this.m_0 = array;
        if (P_0){
            this.m_0 = Encoding.UTF8.GetString(array);
        } else {
            this.m_0 = Encoding.Default.GetString(array);
        }
    }
    return num;
}
This method calls two transformations in sequence: method 1 followed by method 0 (method names appear as numbers because the obfuscation process stripped out the original identifiers).
Method 1: Bit Reversal
This method reverses the bits in each byte
private byte[] 1(byte[] P_0, long P_1) {
    long num = 0L;
    try {
        this.m_0 = 0L;
        if (this.m_0 != null) {
            this.m_0.Initialize();
            this.m_0 = null;
        }
        if (P_1 > 0L) {
            this.m_0 = new byte[P_1];
            for (num = 0L; num < P_1; num++) {
                byte b = 0;
                if ((P_0[num] & 1) == 1)    b = 128;
                if ((P_0[num] & 2) == 2)    b += 64;
                if ((P_0[num] & 4) == 4)    b += 32;
                if ((P_0[num] & 8) == 8)    b += 16;
                if ((P_0[num] & 0x10) == 16) b += 8;
                if ((P_0[num] & 0x20) == 32) b += 4;
                if ((P_0[num] & 0x40) == 64) b += 2;
                if ((P_0[num] & 0x80) == 128) b++;
                this.m_0[num] = b;
            }
        }
    } catch {
        this.m_0 = -1L;
    }
    return this.m_0;
}
For each byte, bit 0 becomes bit 7, bit 1 becomes bit 6, and so on:
Original:  b7 b6 b5 b4 b3 b2 b1 b0
Reversed:  b0 b1 b2 b3 b4 b5 b6 b7
For example, the byte 0b11000001 (193) becomes 0b10000011 (131).
Re-implementing this in Python:
def reverse_bits(byte: int) -> int:
    """Reverse the bits in a byte (bit 0 -> bit 7, bit 1 -> bit 6, etc.)."""
    result = 0
    if byte & 0x01: result |= 0x80
    if byte & 0x02: result |= 0x40
    if byte & 0x04: result |= 0x20
    if byte & 0x08: result |= 0x10
    if byte & 0x10: result |= 0x08
    if byte & 0x20: result |= 0x04
    if byte & 0x40: result |= 0x02
    if byte & 0x80: result |= 0x01
    return result
Method 0: XOR with 0xAA
This method XORs each byte with 0xAA:
private byte[] 0(byte[] P_0, long P_1) {
    try {
        this.m_0 = 0L;
        if (this.m_0 != null) {
            this.m_0.Initialize();
            this.m_0 = null;
        }
        if (P_1 > 0L) {
            this.m_0 = new byte[P_1];
            for (long num = 0L; num < P_1; num++) {
                this.m_0[num] = (byte)(P_0[num] ^ 0xAA);
            }
        }
    } catch {
        this.m_0 = -1L;
    }
    return this.m_0;
}
0xAA in binary is 10101010, which means this XOR operation flips every other bit.
Re-implementing this in Python:
decrypted = bytes(b ^ 0xAA for b in reversed_data)
Complete Python Implementation
With the core algorithm understood, a comprehensive decryption script was written decrypt_exdf.py
. This recursively processes all .exdf files in a directory, converting them to readable XML.
Usage and Results
Running the decryption script on the MUT-III SE database folder:
python3 decrypt_exdf.py /Users/JohnDoe/Desktop/mut-3/Database /Users/JohnDoe/Desktop/decrypted-database
Example output
Found 1243 .exdf files in /Users/JohnDoe/Desktop/mut-3/Database
Output directory: /Users/JohnDoe/Desktop/decrypted-database
--------------------------------------------------
  ✓ CommonDB/VIN_Search_000.exdf
  ✓ CommonDB/VIN_Search_001.exdf
  ✓ CommonDB/VIN_Search_002.exdf
  ✓ CommonDB/VIN_Search_003.exdf
  ✓ CommonDB/VIN_Search_004.exdf
  ✓ CommonDB/VIN_Search_005.exdf
  ✓ CommonDB/VIN_Search_006.exdf
  ...
--------------------------------------------------
Copying non-exdf files...
  ✓ Copied 42 non-exdf files
--------------------------------------------------
Done: 1243 files decrypted, 0 failed, 42 files copied
Exploring the Decrypted Data
The decrypted files contain a wealth of information. Here are some examples:
VIN Lookup Tables
The VIN_Search_*.xml files contain VIN-to-vehicle mappings. For example, in VIN_Search_294.xml:
<VI VN="ML32A3HJ1FH050391">
  <TY>321</TY>
  <KD>2618</KD>
  <MY>15</MY>
</VI>
This maps a VIN to its vehicle type (TY), kind code (KD), and model year (MY).
Localization Data
The DiagDB/DiagLangH.xml file contains multilingual translations for diagnostic messages:
<item_name iid="8022664">
  <no>21</no>
  <J>オートブレーキホールドランプ作動</J>
  <N>Auto brake hold lamp activated</N>
  <E>Auto brake hold lamp activated</E>
  <G>Auto brake hold lamp activated</G>
  <F>Auto brake hold lamp activated</F>
  <S>Auto brake hold lamp activated</S>
  <I>Auto brake hold lamp activated</I>
  <H>Auto brake hold lamp activated</H>
  <C>Auto brake hold lamp activated</C>
  <W>Auto brake hold lamp activated</W>
  <Y>Auto brake hold lamp activated</Y>
  <R>Auto brake hold lamp activated</R>
  <T>Auto brake hold lamp activated</T>
  <V>Auto brake hold lamp activated</V>
  <K>Auto brake hold lamp activated</K>
  <L>Auto brake hold lamp activated</L>
</item_name>
The XML keys are language codes:
- J: Japanese
- N: North American English
- E: English
- G: German
- F: French
- S: Spanish
- I: Italian
- And many more
Conclusion
In this first part of the MUT-III SE reverse engineering series, we successfully:
- Set up a reverse engineering environment with de4dot and ILSpy
- Deobfuscated and decompiled the MUT-III SE .NET assemblies
- Located and analyzed the encryption algorithm used for
.exdffiles - Implemented a Python script to decrypt the data files
- Explored the structure of the decrypted data
The decryption algorithm turned out to be relatively simple: bit reversal followed by XOR with 0xAA. While this provides minimal security against determined analysis, it is sufficient for its purpose, discouraging casual modification of the data.
In Part 2 , we explore the CommonDB and learn how VINs are mapped to vehicle specification, destination, and configuration data.